Tattoo Stencil Preparation — How to Prep for Your Consultation
You’ve picked a tattoo idea, found an artist, and booked the consultation. Now what comes between that appointment and the needle hitting your skin is the most undervalued step in the entire process: stencil preparation.
A well-prepared stencil session saves you from the “I wish I’d moved it two inches to the left” feeling that costs hundreds in laser removal later. A bad one produces a crooked, smeared, or misaligned design that neither you nor your artist noticed until after the first pass.
Let’s walk through exactly how to prep — what to bring, what to ask, and what mistakes to avoid.
What Actually Happens During Stencil Application
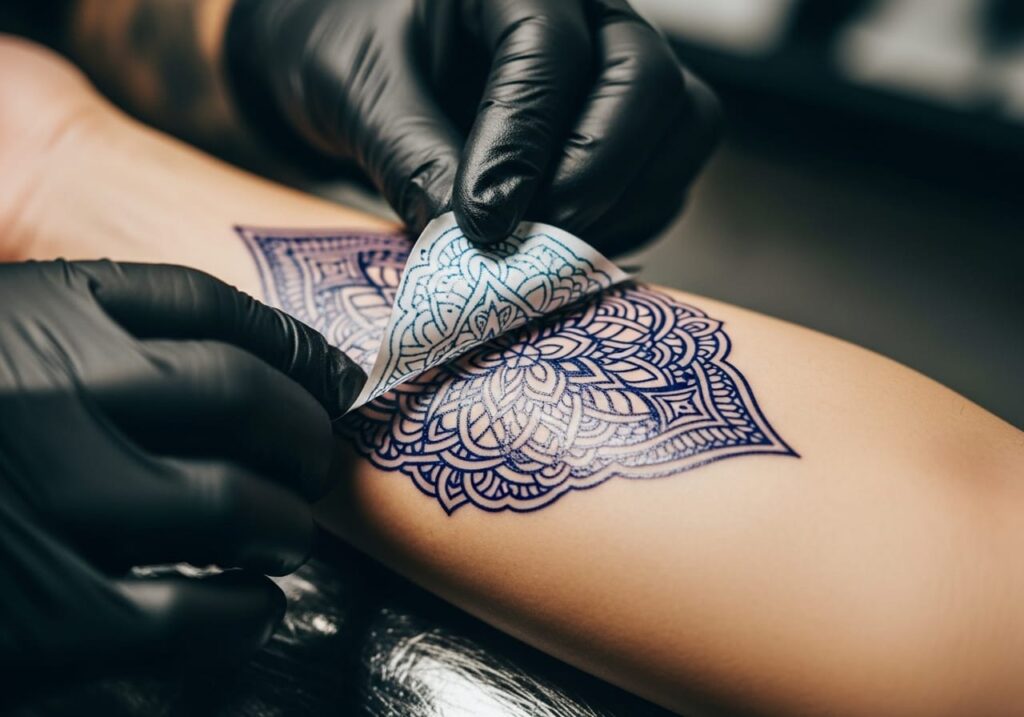
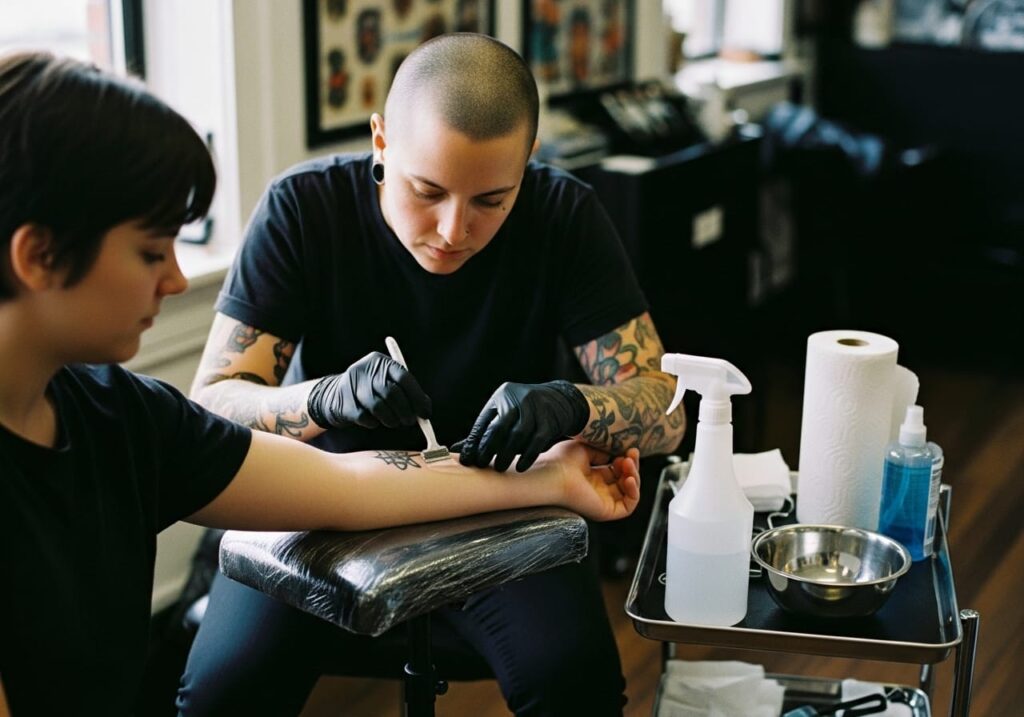
Your artist will shave the area, clean it with alcohol, and apply a thin layer of stencil transfer gel. They’ll press a thermal or carbon-transfer print of your design onto your skin, hold it for 10 to 15 seconds, then peel it off. What’s left is a purple or blue outline — your tattoo’s roadmap.
The entire process takes about 10 minutes. But the decisions made in those 10 minutes determine whether you love or regret the placement for the rest of your life.
Most first-timers don’t realize they have rights during this phase. You are allowed — expected, even — to check the stencil in a mirror, move your body, bend the joint, and request adjustments. Artists who rush this step are a red flag.
How long a stencil lasts on skin
Ask your artist how long the transfer product they use needs to set and how they check that the stencil is ready. Products and working methods differ; do not use one drying-time rule for every stencil.
What to Bring to Your Consultation
Your artist can work with almost anything, but some inputs produce better stencils than others.
| Type | Artist Preference | Why |
|---|---|---|
| Transparent PNG (white bg removed) | Best | Fits the stencil printer’s threshold, no background artifacts |
| Clean JPG with good contrast | Good | Works for most thermal paper if contrast is high |
| Hand-drawn sketch | Acceptable | Artist will redigitize; expect extra design fee |
| Pinterest screenshot with 3 filters applied | Worst | Lost detail in compression, hard to translate to stencil |
Bring 3 to 6 reference images, not one. Mark what you like about each — “the line weight on this one, the shading from this one” — rather than expecting a direct copy. Tattoo artists are not Xerox machines; they redraw your idea in their style so it ages well on skin.
The mirror test
Before signing off on the stencil, stand in front of a full-length mirror. Look at it from 3 to 6 feet away — the distance people will actually see your tattoo. Bend the joint if it’s on an arm or leg. Sit down if it’s on your thigh. A design that looks perfect flat can distort badly when your body moves.
Common Stencil and Placement Mistakes
These five errors show up in tattoo regret forums (r/tattooadvice, r/badtattoos) on a weekly basis:
1. Not moving the stencil before the needle starts. Once the first line goes in, you’re committed. Take the full minute to check.
2. Letting the artist freehand placement. Some artists work freehand for organic shapes like floral or biomechanical designs — that’s fine. For geometric, letters, or symmetrical pieces, you want a transfer stencil. Ask which method they plan to use.
3. Forgetting the design needs to follow the body’s curve. Arm bands that look straight when your arm is flat turn diagonal when you stand. Ask your artist to wrap the stencil around the limb and check the flow with your arm at your side.
4. Choosing placement based on pain level, not visual flow. “I want it here because it hurts less” is how tattoos end up in random spots that fight the body’s natural lines. Pick placement first, then manage pain.
5. Ignoring how the design interacts with existing tattoos. Two adjacent tattoos from different eras with different line weights and shading styles clash visually. Bring photos of your existing ink so the artist can match the approach.
How MyInk’s Try-On Tool Connects to Stencil Prep
A virtual preview can help you prepare composition and placement questions before visiting a studio. Keep the preview alongside your references for the consultation.
The MyInk AI Tattoo Generator uses your written idea, style, and placement to generate design directions. It does not accept a reference-image upload in the design form. Keep any original sketches or photographs to show your artist alongside the concepts you choose.
The Virtual Try-On tool accepts a body photo and generates an on-body illustration. It requires login and costs 1 credit per preview; processing time varies. The image does not calibrate physical size or provide controls to rotate and scale individual tattoo elements.
Use the image to identify questions about composition, orientation, and placement. Your artist must still check the actual stencil on your body, including size, alignment, movement, and skin suitability; an AI illustration cannot guarantee the finished result.
Questions to Ask Before the Stencil Goes On
Walk in with these written down:
- “How many stencil adjustments do you allow before the session starts?” (Most artists include 2 to 3 repositionings. After that, they may charge a restencil fee.)
- “Can I see the stencil on my body before you apply it?” (Some artists hold the paper stencil in place so you can preview without the transfer gel.)
- “Will this placement distort when I gain or lose weight?” (Certain areas — stomach, upper arm, inner thigh — change significantly with body composition shifts.)
Your consultation should answer all three before you sit in the chair.
FAQ
How early should I arrive for my stencil appointment?
Arrive 15 minutes before your scheduled time. This gives you room to fill out paperwork, use the restroom, and settle in without feeling rushed during placement decisions.
Should I moisturize before the appointment?
Moisturize daily for the week leading up to it — tattoo artists need healthy, hydrated skin to get a clean transfer. But on the morning of, apply nothing to the area. Fresh lotion interferes with the stencil gel’s adhesion.
Can I bring my own stencil paper?
You can, but it’s unnecessary. Most shops stock professional-grade thermal or hectograph paper (Spirit, Republic, or Green Soap brands). Ask your artist which paper they use if you’re curious about quality.
What happens if the stencil starts fading mid-session?
Tell your artist if you can no longer see the intended outline. They should assess how to continue safely with their equipment and the condition of the skin. Do not apply stencil products yourself to freshly tattooed skin.
How much does a stencil reprint cost?
Included in your session deposit (typically $50 to $300). Restenciling due to placement changes usually falls under the same deposit. Full redesigns outside the original scope may incur an additional design fee — clarify this before the session starts.
Video: Tattoo consultation walkthrough covering stencil placement, sizing, and what to ask your artist before the needle starts. Source: YouTube (CC).
Sources consulted for this guide: AI for Tattoo consultation guide (June 2026), TattooRail stencil tutorial (Oct 2025), TommysSupplies studio workflow guide. These external sources are referenced for research purposes — MyInk’s AI tools complement traditional consultation by letting you preview placement before you walk in.